
First you need to log in.
Next, create a new post.

Give the post a descriptive title that ends with either the year or month and year. For example:
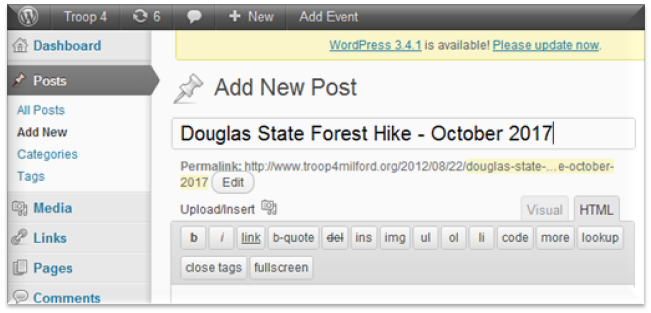
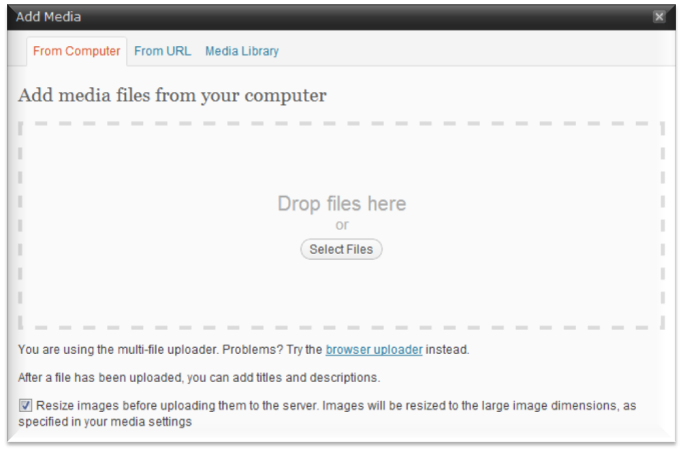
Next, click on the “Upload/Insert” link. In the screen shot above, the link is just below the post title and permalink. This opens the “Add Media” window shown below. You can drag your picture files from another folder window into the gray rectangle, or you can click on the Select Files button. Leave the “Resize images” box at the bottom checked.
After your images have been uploaded, the “Add Media” window will look something like this:
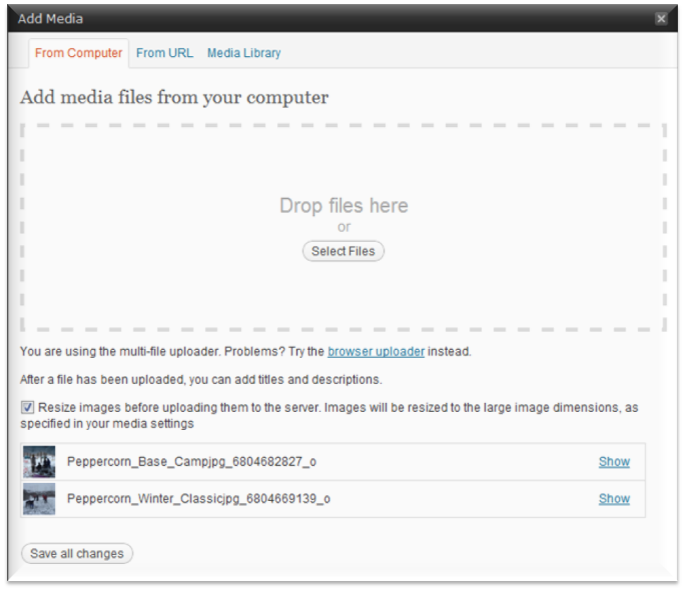
At this point, you can add captions to one or more of the pictures if wish. To add a caption, click on the “Show” link to the right of the picture and then enter your text into the “Caption” field:
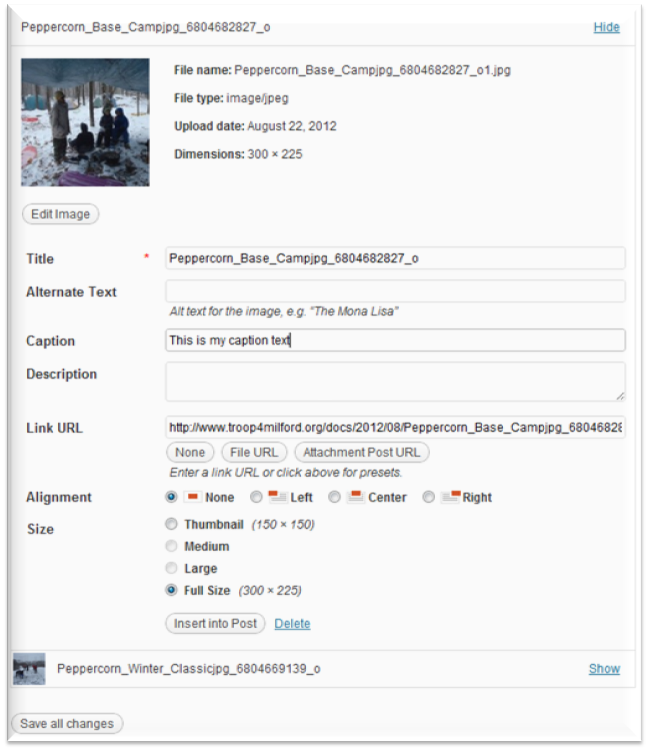
When you are finished adding captions, click on the “Save all changes” button at the bottom of the “Add Media” window. Then you can close the “Add Media” window.
Next, insert a picture gallery into the post by typing the gallery code shown in the screen shot below:
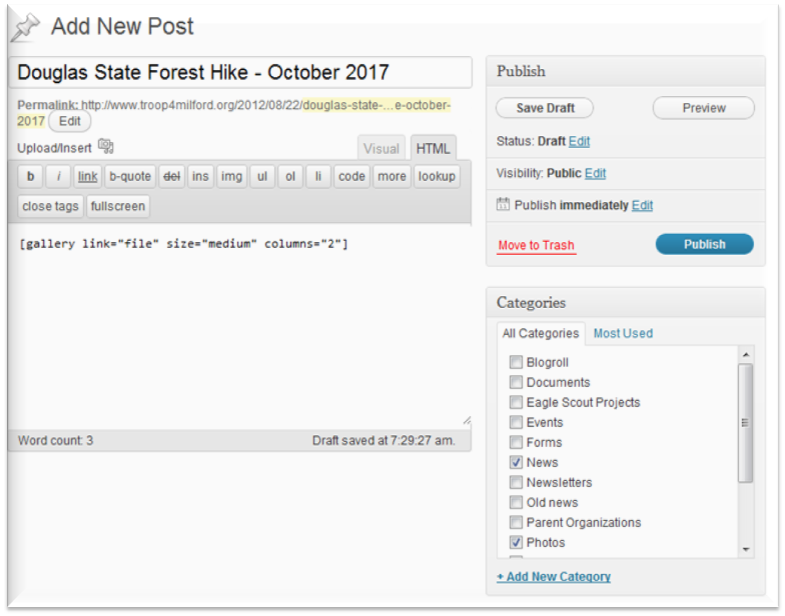
Now add categories to the post. In the screen shot above, the categories “News” and “Photos” are selected. Selecting the “News” category causes the post to appear in the left column on the home page of the site. Selecting the “Photos” category causes the post to appear on the site’s photo archive page.
Finally, click on the “Publish” button.